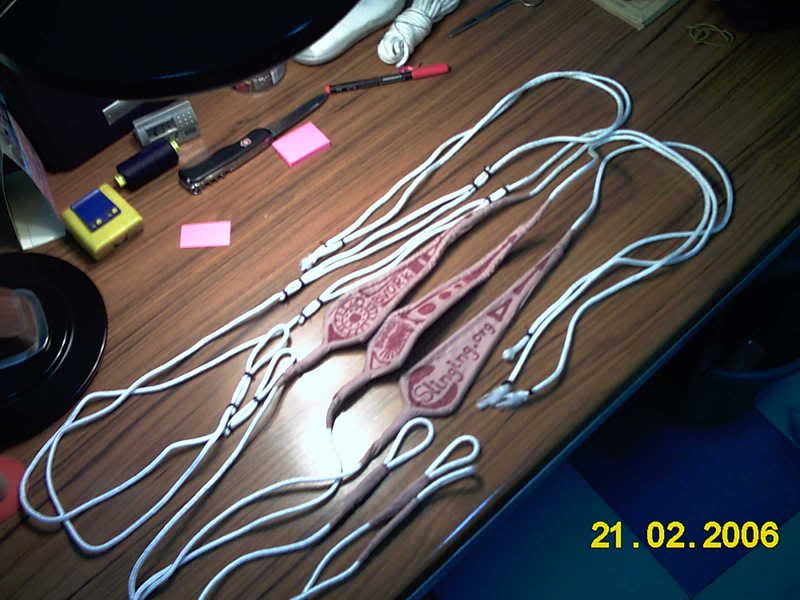
Well as i promised here's the tutorial with lot of pics,most of them are self explanatory but anyway i'll give some comments that may help

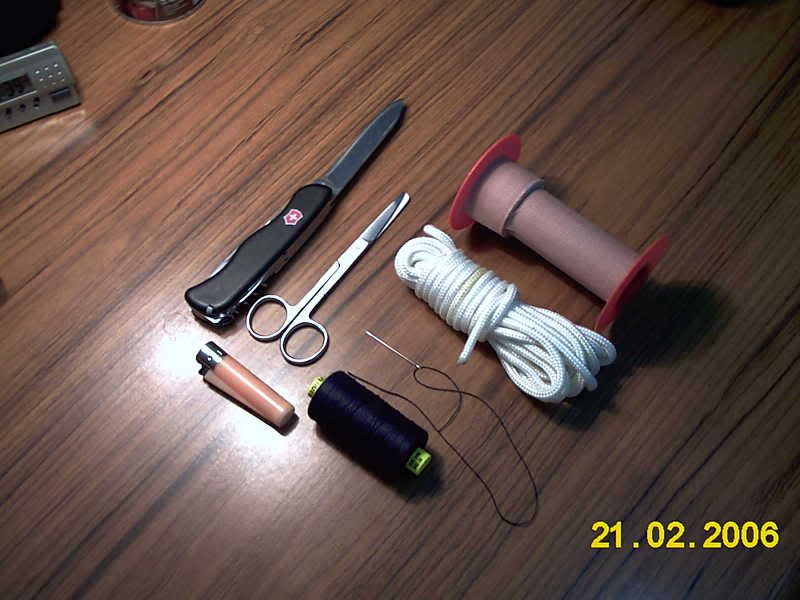
Materials:
*5mm nylon cord (any other will do as well)
*Medical tape (this is 10 cm wide, but you can use any width, glue will keep strips in place and it will be a solid pouch even using only 1 cm wide, but the more wide you use the more quick construction.)
*Knife to cut the rope
*Scissors to cut the tape and thre thread
*Buthane lighter to melt the ends of the nylon cord.
*Thread the most strong you can get.
*Needle to sew the thread trough the nylon cord.
Sling is very simple, basicly we overlap two pieces of cord to make a pouch frame and we wrap it with several layers of tape.
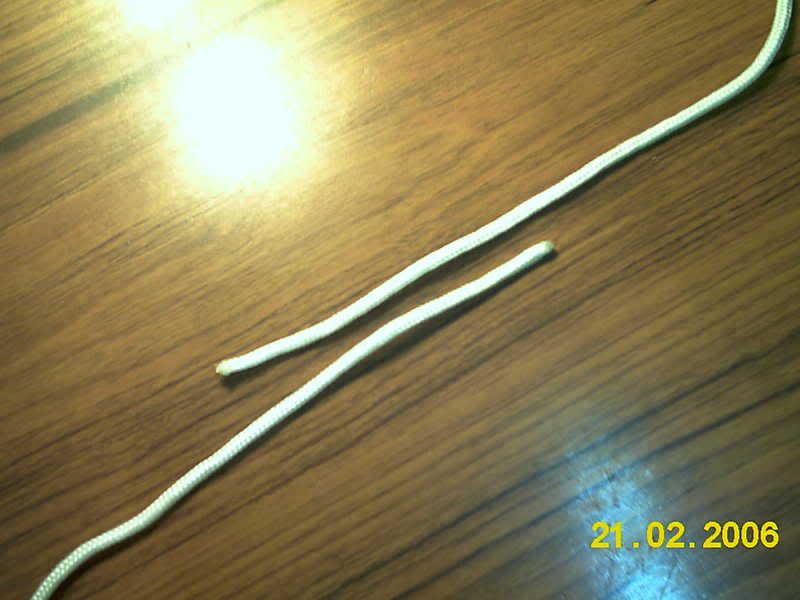
1st sew and tie the tips of the overlapping cords. (i sew trough the cords to ensure they wo'nt slip over, but a tight tie will work fine as well, cause medical tape also will help to keep cords in place.

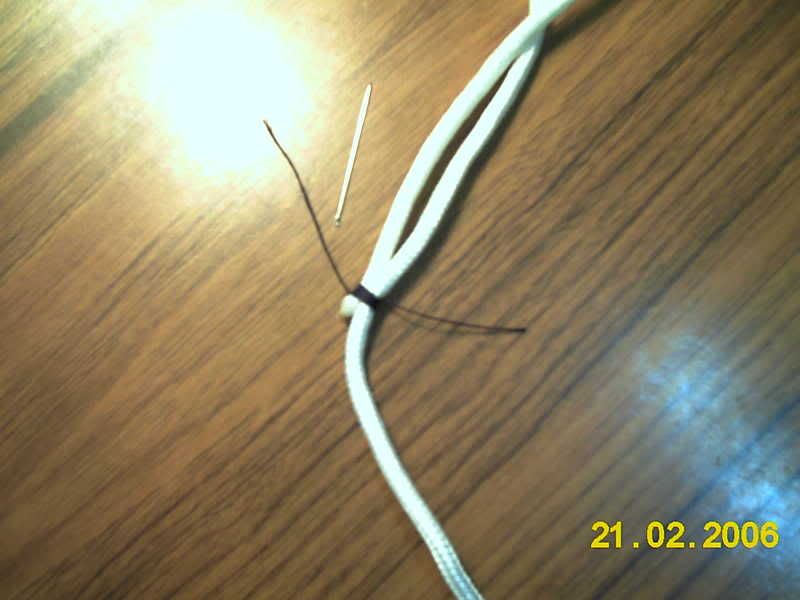
I use 2 ties just to ensure things won't slip
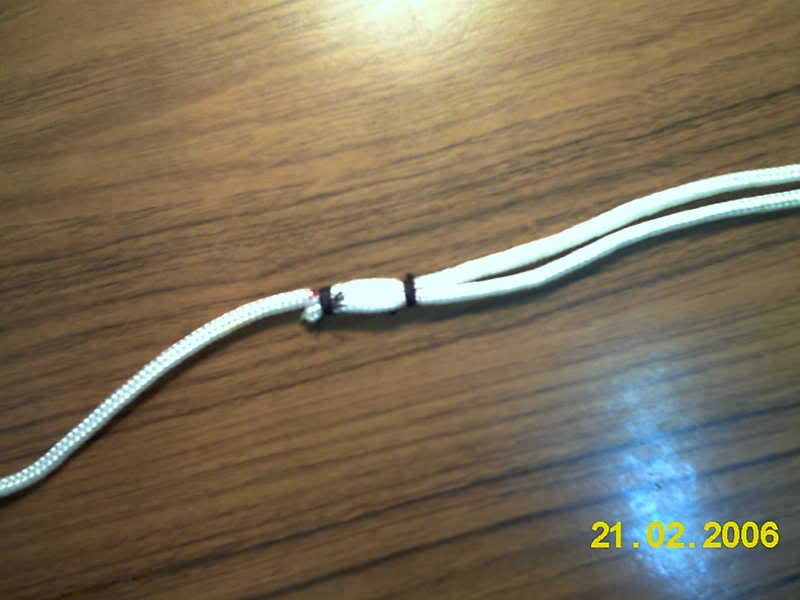
Do the same at the other side to make a cord pouch frame.
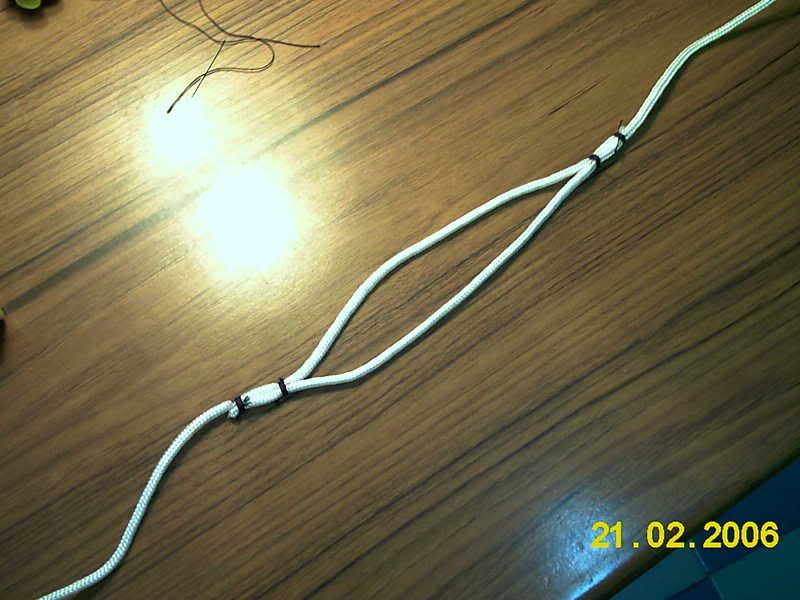
Now you can test wich shape you'll give to the pouch, wich lenght and width... i.e. asymetric?
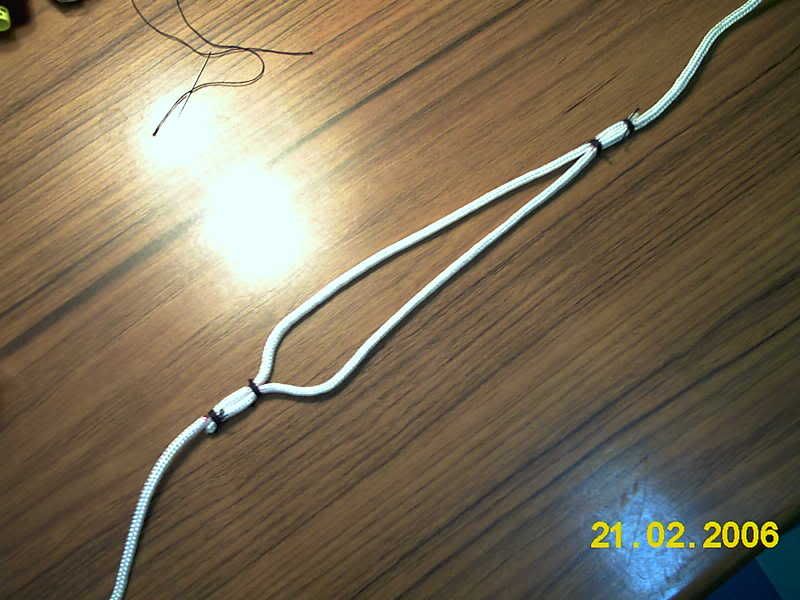
....symetric?....
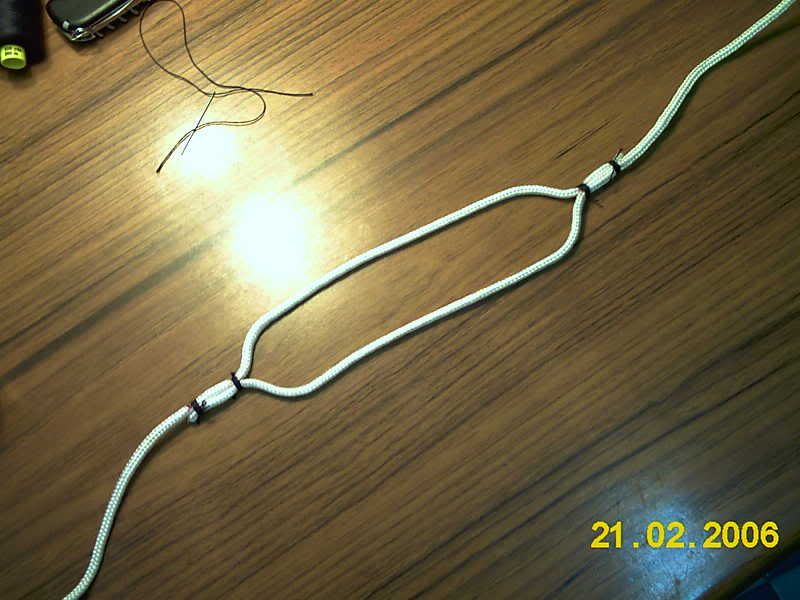
Use the same method to form the retention loop, this is two finger loop.
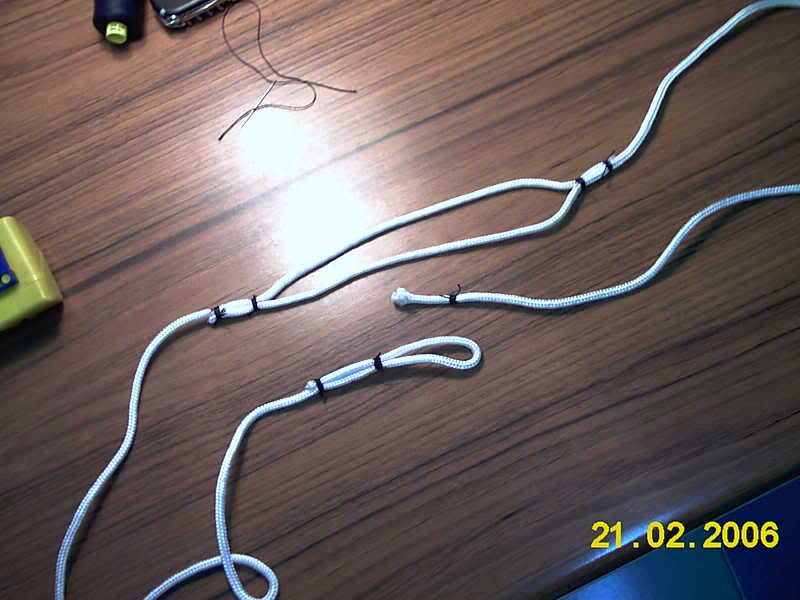
I haven't post any lenght of cords cause every person need different lenghts, so once you've decided the size of the pouch frame you can let long release and retention cords and trim them later to suit your preferences.
This is the sling cord frame, (I don't use release knot so i've only sewn and tied some thread on the release end to make a fluffy tail with the cord fibres.) anyway you can make release knot or whatever you like.
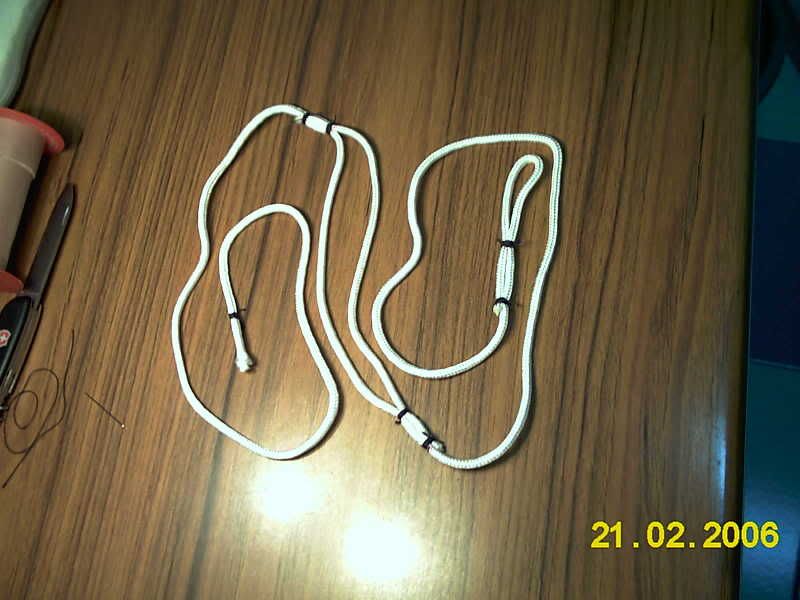
POUCH CONSTRUCTION:
Once you know what sape you'll give to the pouch, we only need to wrap several layers of medical tape.
Cut a strip sightly wider than the pouch frame, just the lenghth of the pouch.

Let the piece of medical tape on the table with the sticky face up, and place the pouch cord frame over it with the shape you've planned.
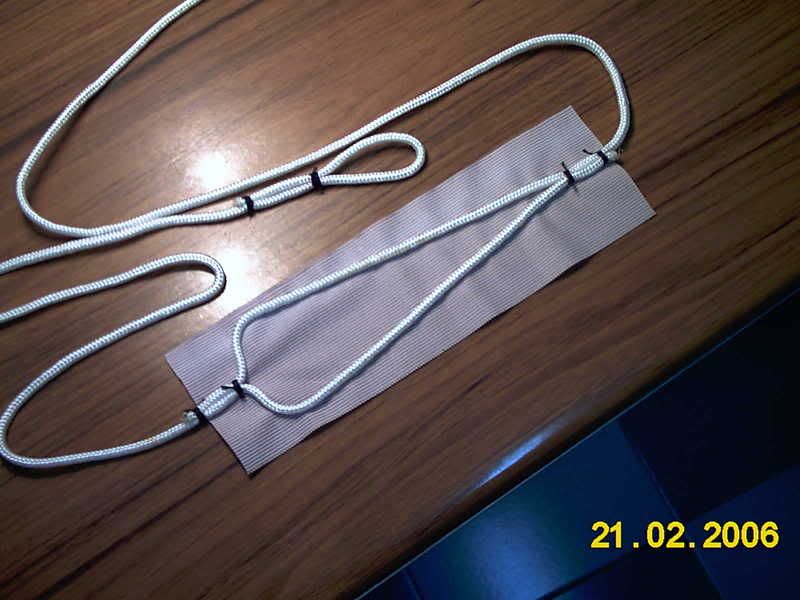
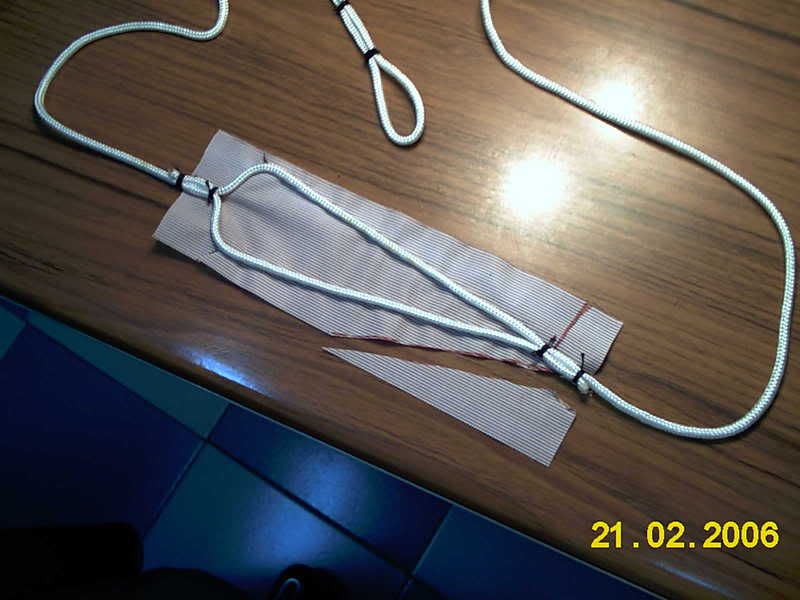
Make some cuts with the scissors on the tape piece, so you can wrap the tape around the cord frame and stick it to itself.
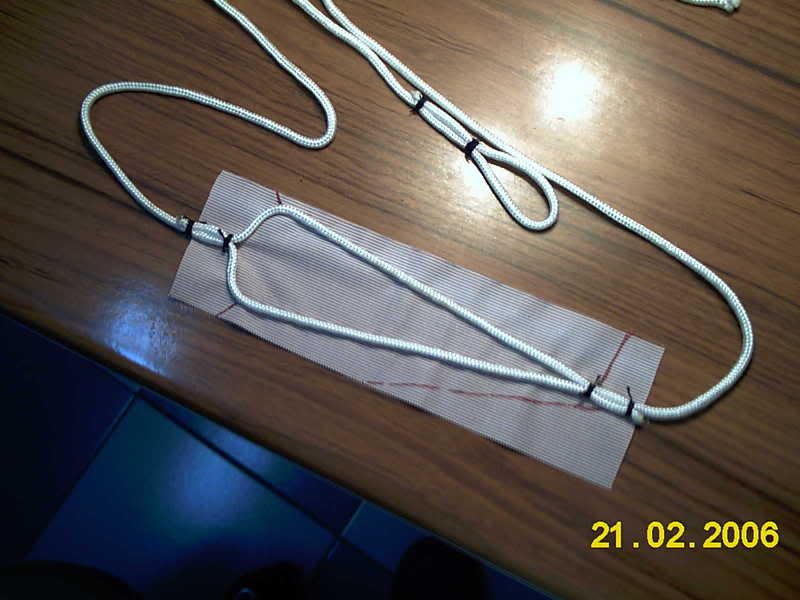
These cuts are just an example, the goal is just to wrap the tape over the cord frame and keep it's shape.
Wrap carefully every side of tape over the cord frame and stick carefully to itself tight.
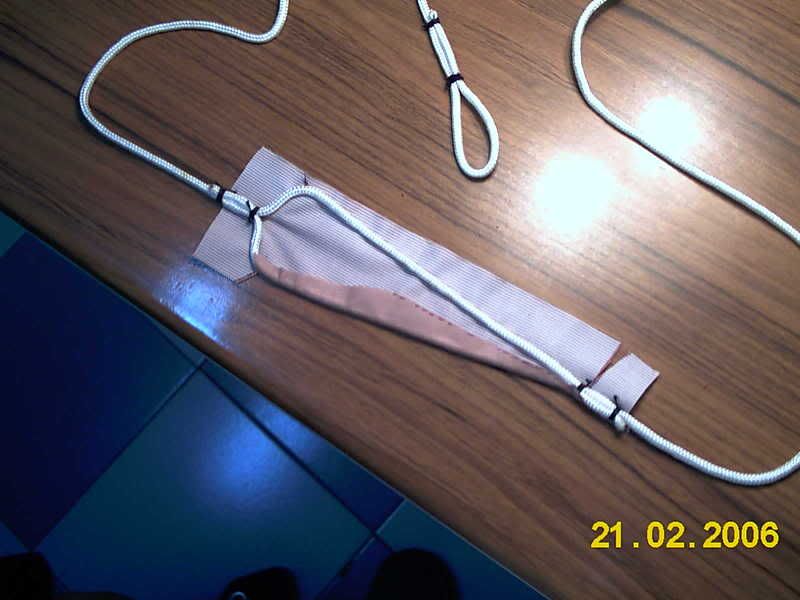
Do the same with all sides....
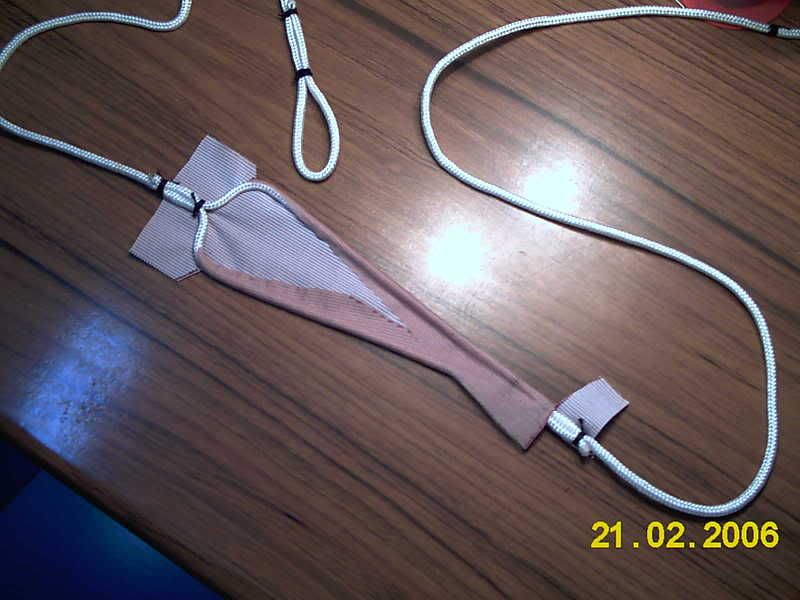
....Wrapping it totally around.
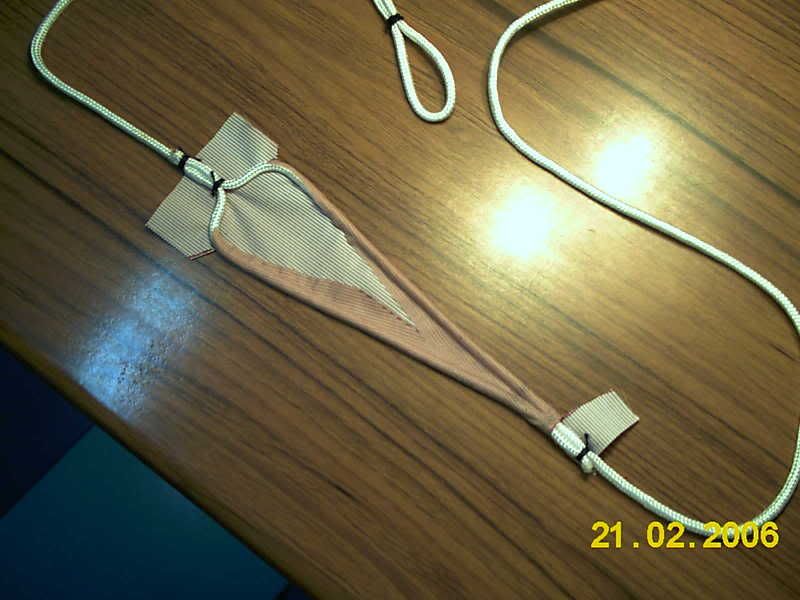
Make some cuts with the scissors so you can wrap the tape very close to the cord frame.
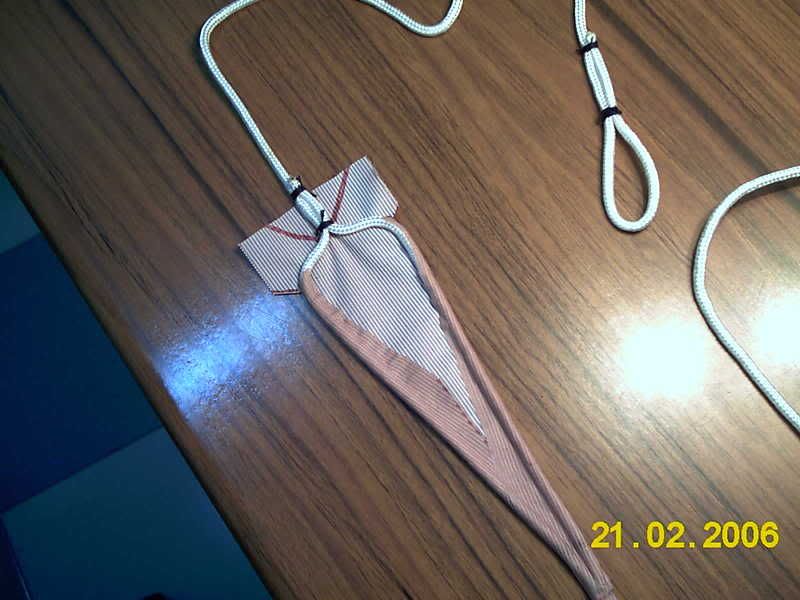
...And keep wrapping around...
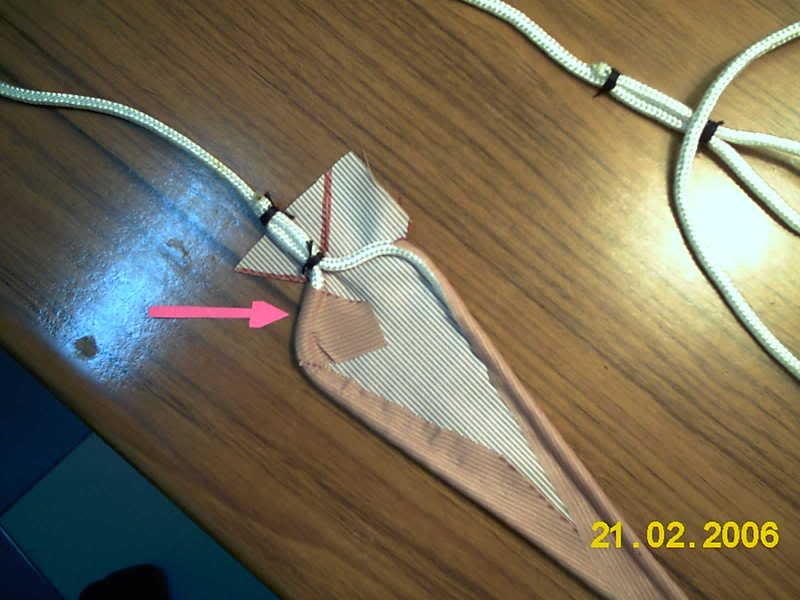
...and around...
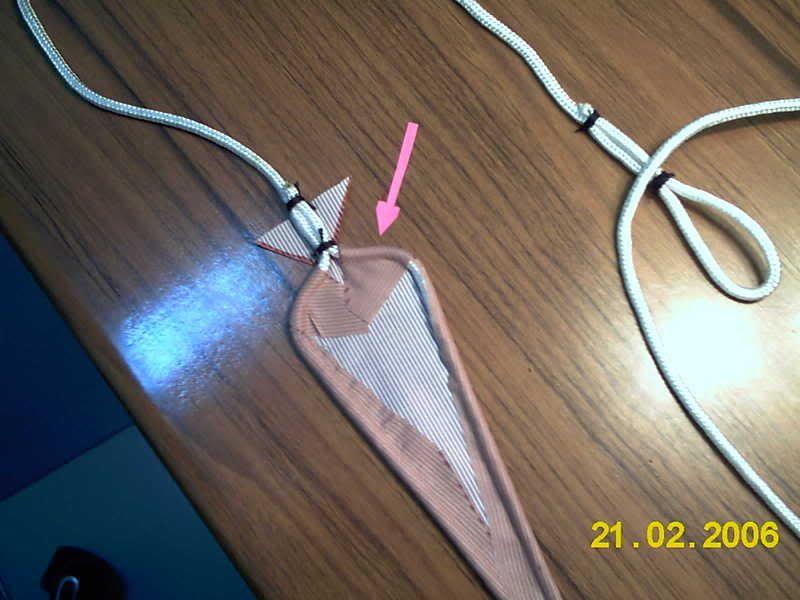
Finish wrapping the last flaps....
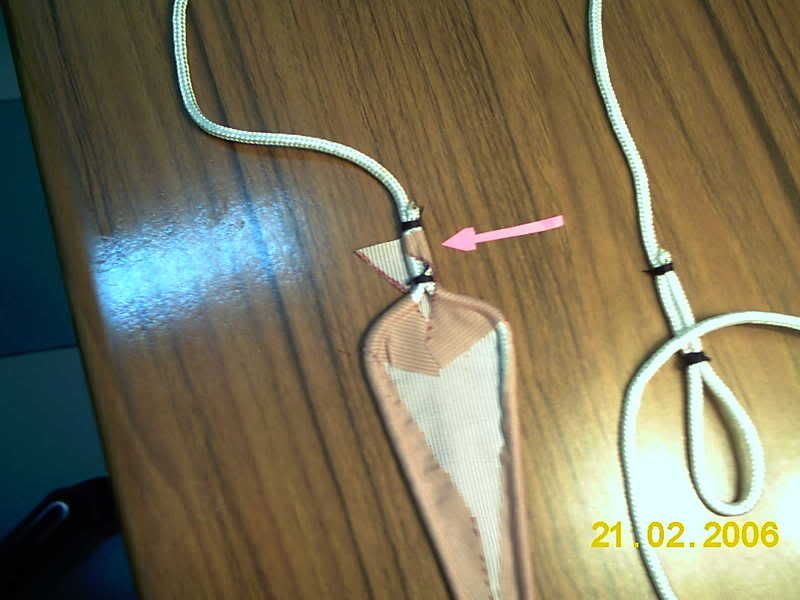
Congrats! you've finished your 1st tape layer

it still have some sticky surface exposed on this side.....
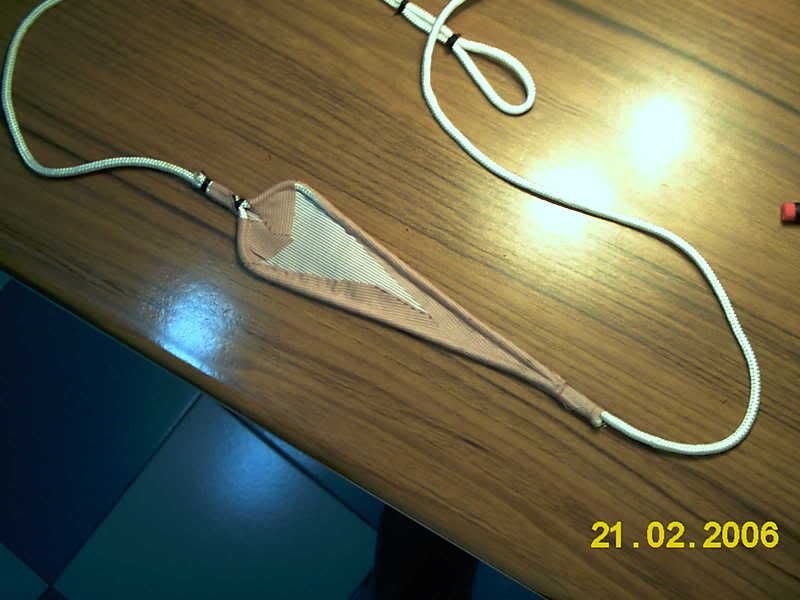
But the other side is complete....
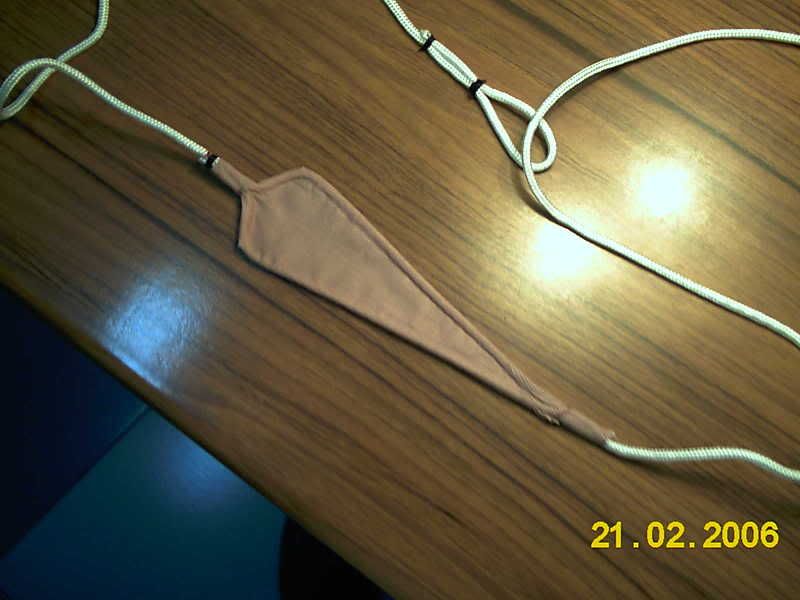
Now the next layer... cut another piece of tape... lay it on the table sticky side up...
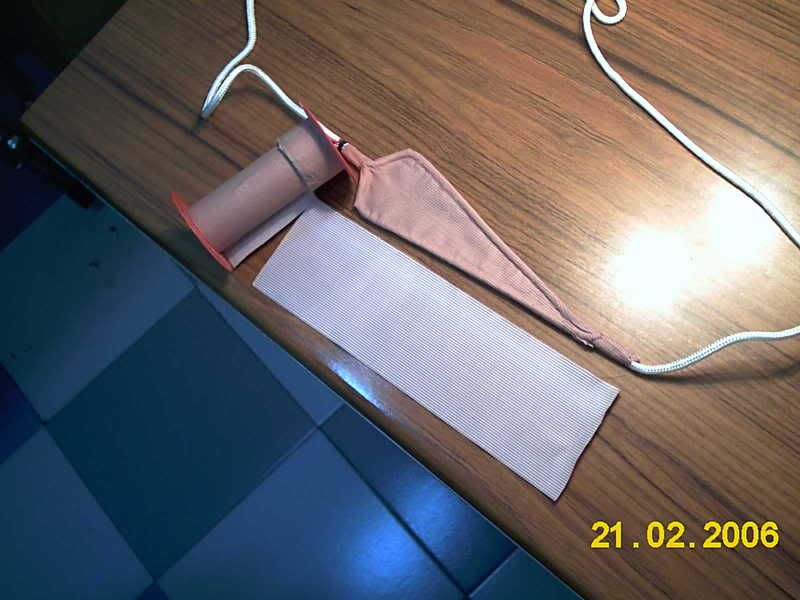
...And place the pouch with the sticky exposed part against it.
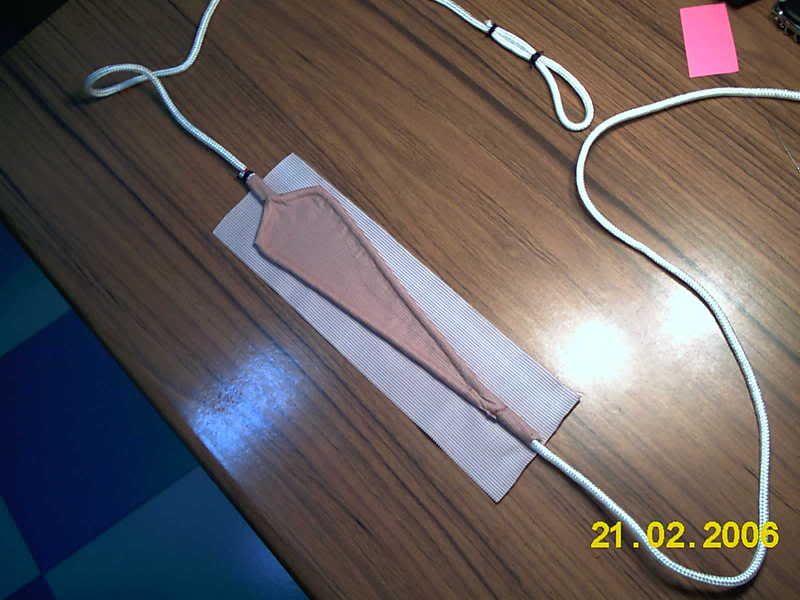
Again make some strategic cuts with the scissors....
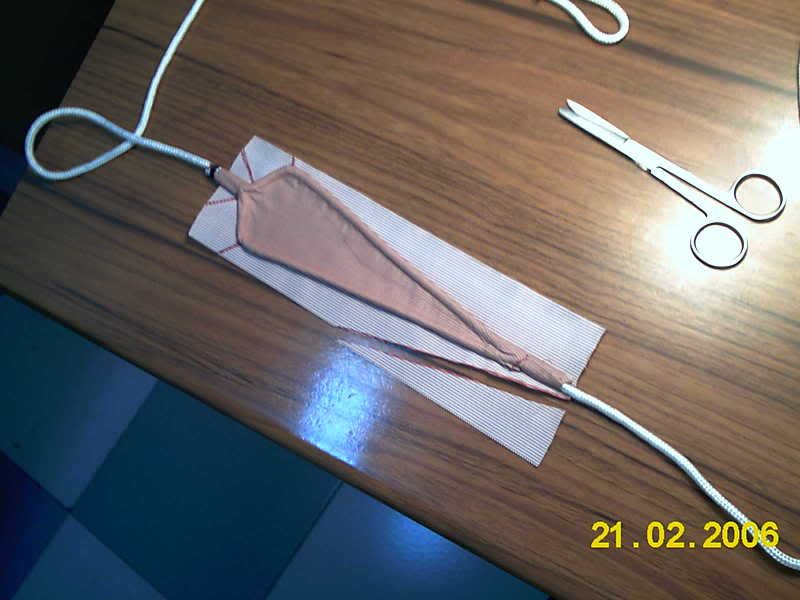
And wrap the edges again over the frame.
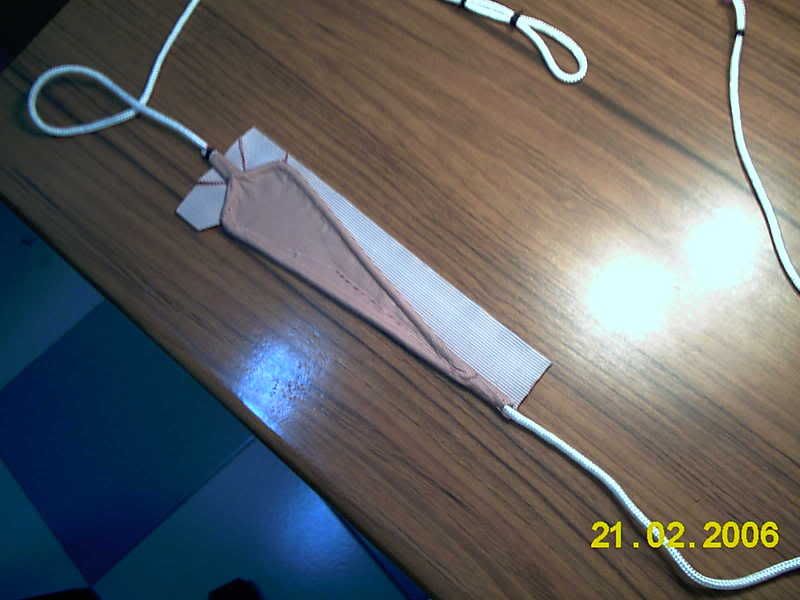
keep wrapping...
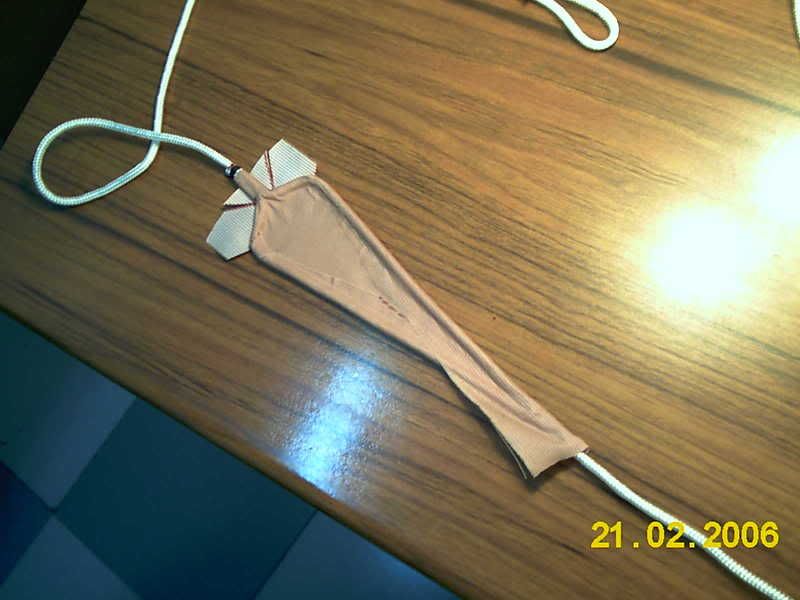
.... and wrapping...
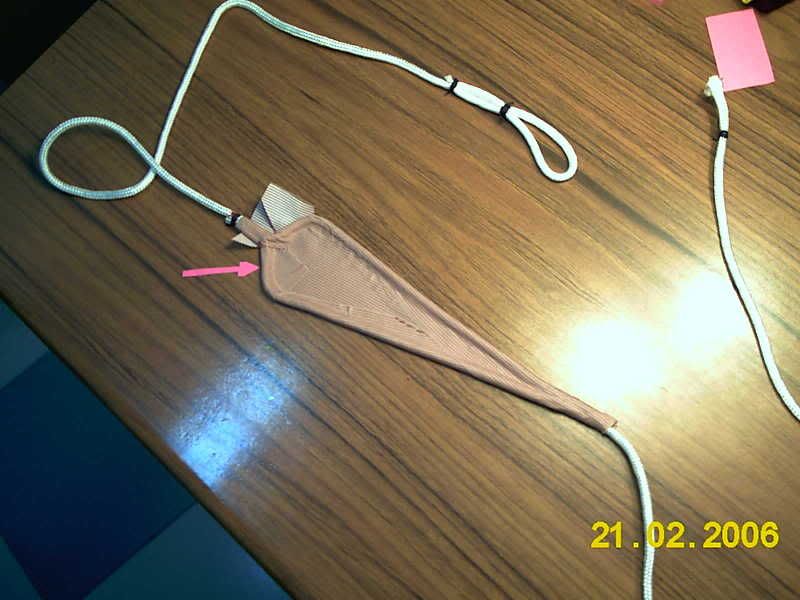
Give it at least 2 more tape layers in the same way, alternating sides, and in the end you'll have an "ugly" side with the last layer flaps sowing....
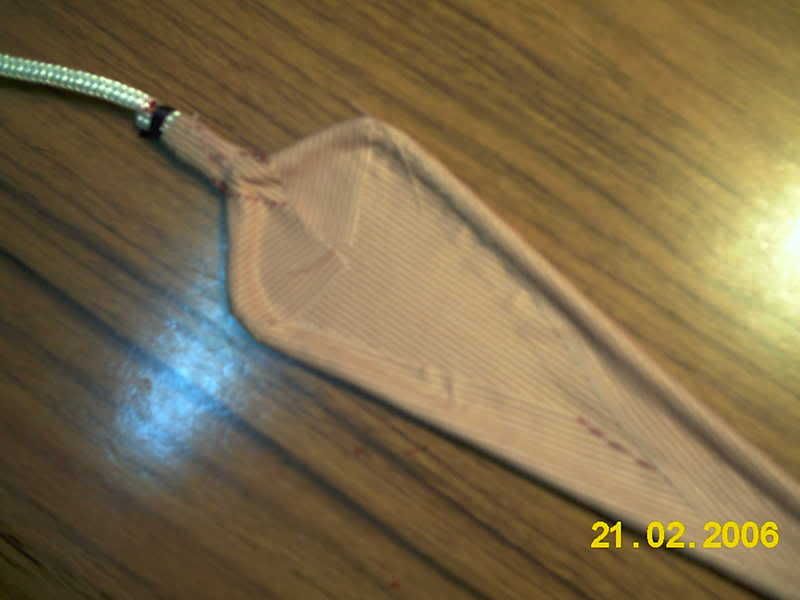
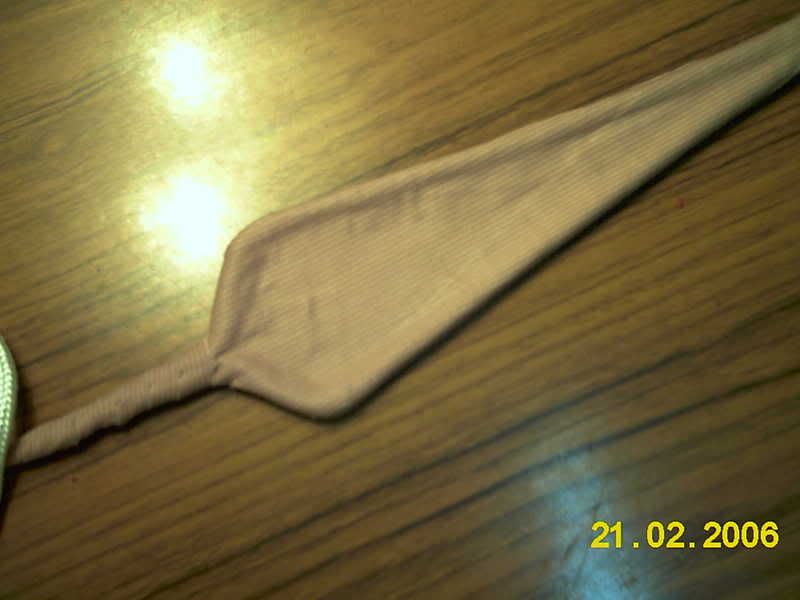
... and a nice continuous side, this one is one piece and stones will be on this side wich is a lot more resistant, without any gaps or flaps wich may unstick with wear and dirt.
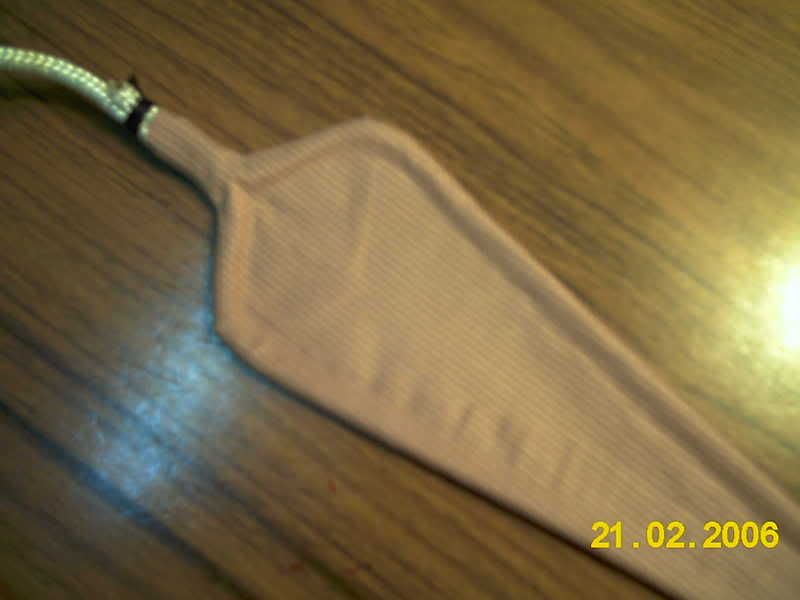
Now it comes a bit of protection with some tape on the retention side of the pouch
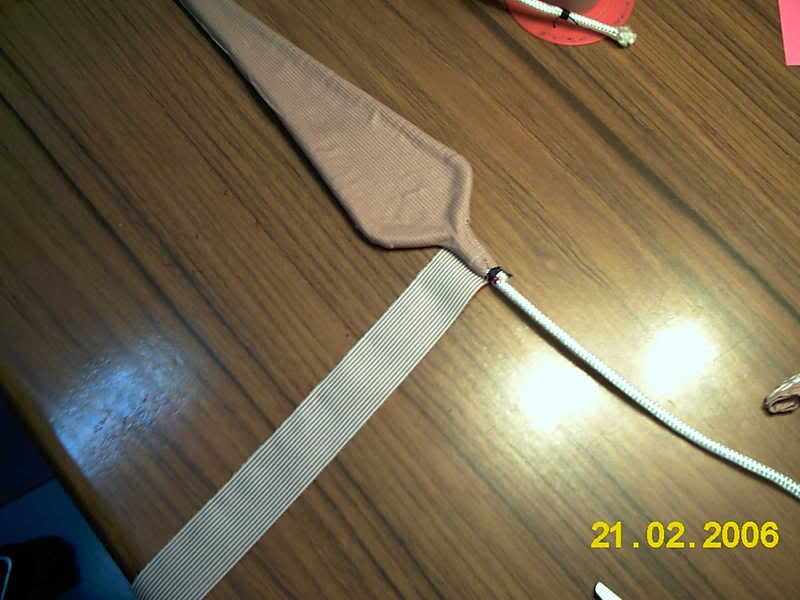
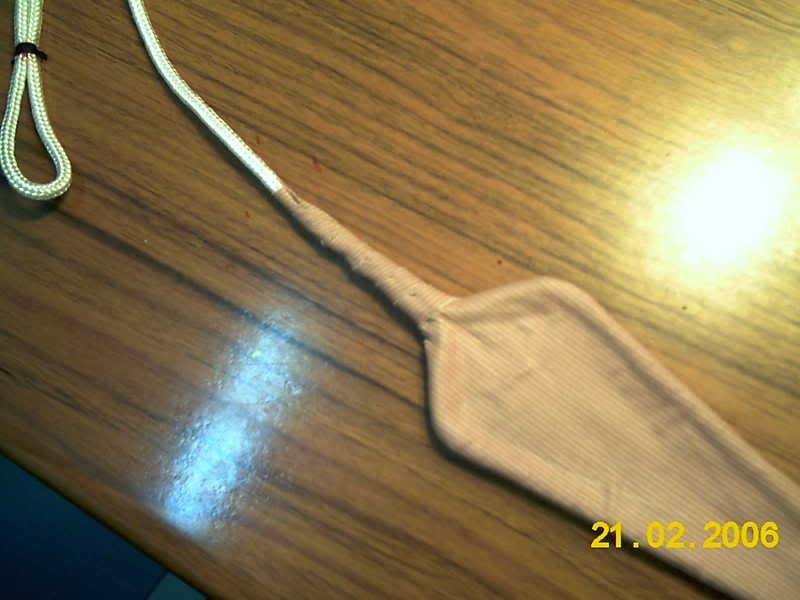
... as well as on the release side of the pouch.
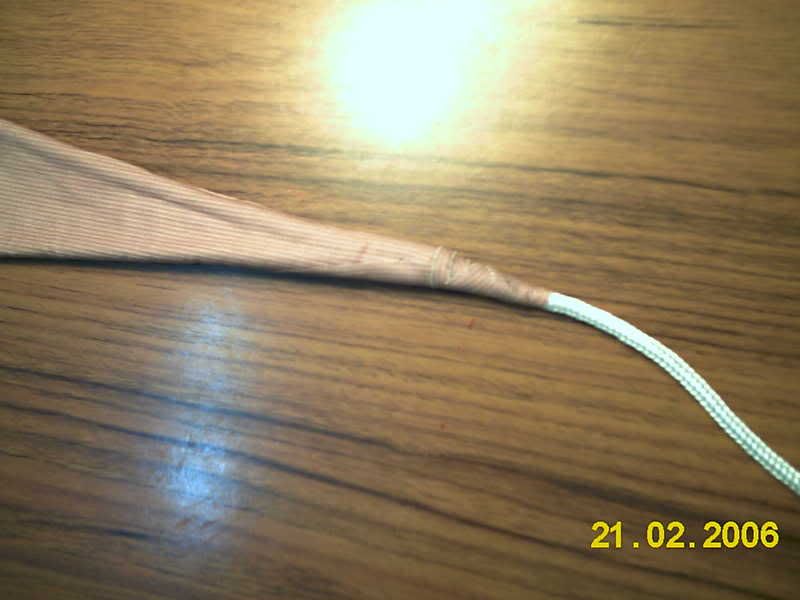
Give as well some tape protection at the retention loop
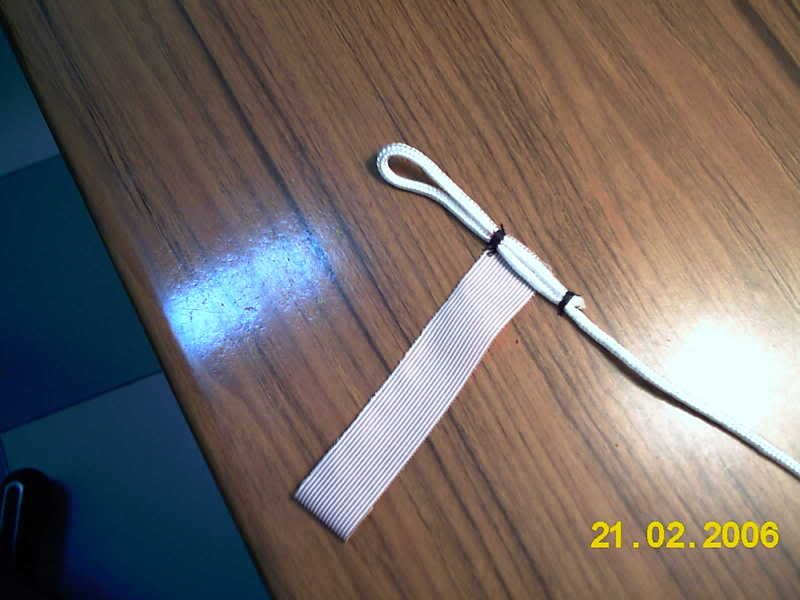
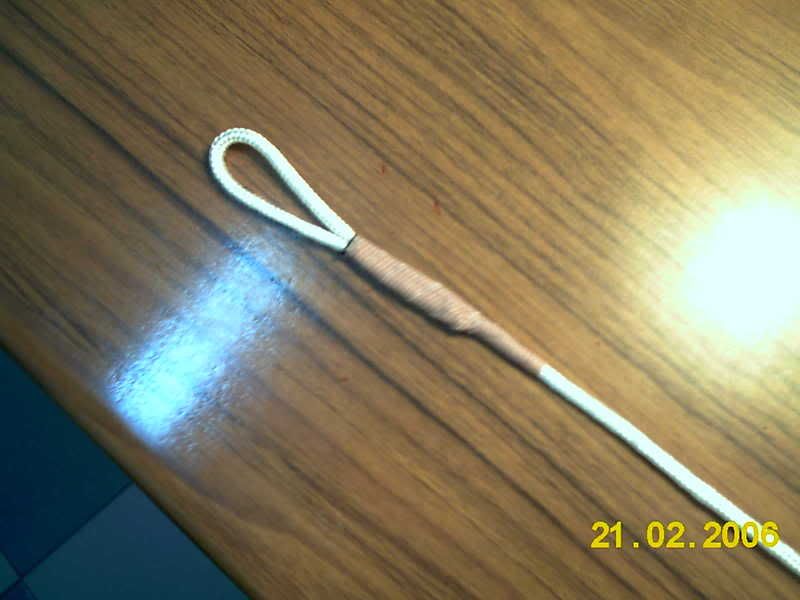
Just as decoration to keep an eye of the "ugly" side where we don't want to place any stone, paint anything you like. this decoration will stand for long if u use permanent markers.
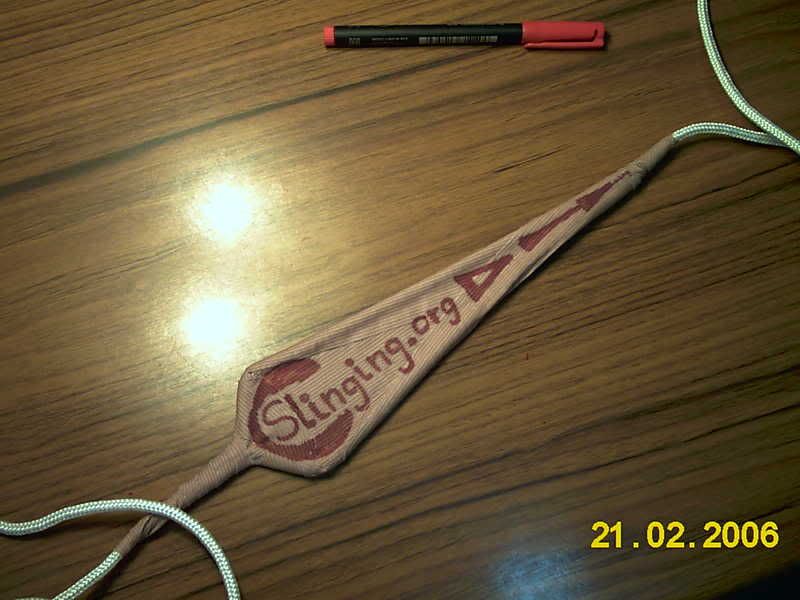
This is the side with no decoration where we'll place the stone (you can decorate if you like but decorations will get dirty and wear pretty soon.
Here are some slings i made in a short time, 3 finished and 2 frames ready to tape the pouches

