I'd like to see pictures of your Welsh bow!
Ironically enough, I just finished my PVC Horsebow using the Backyard Bowyer's tutorials. I tried 1" pipe and couldn't draw it at all, so I went down to 3/4#. As near as I can tell it's about 35-40# pull and a 24" draw (I might be able to draw more out of it, but one limb makes me think it's going to collapse.)
It took me 3 tries to get it right. The first two times I had limbs collapse before I modified my jig to work better. (More on that at the end of the post.)
Here's a few pics of my bow:
Unstrung with my two finished arrows
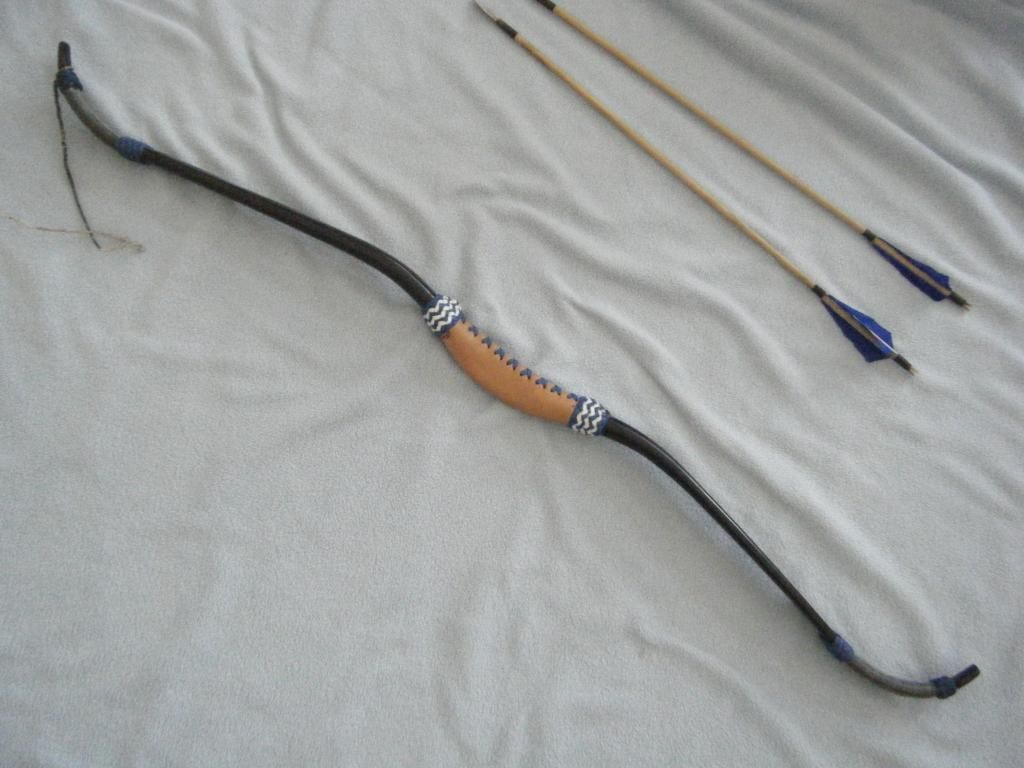
Strung. The string is 6 strands of twisted waxed nylon "thread" the same stuff they sew saddles together with. It looks a lot like artificial sinew, and is cheap, so I use it. I served the whole mess with some nylon thread I bought at an army surplus store.
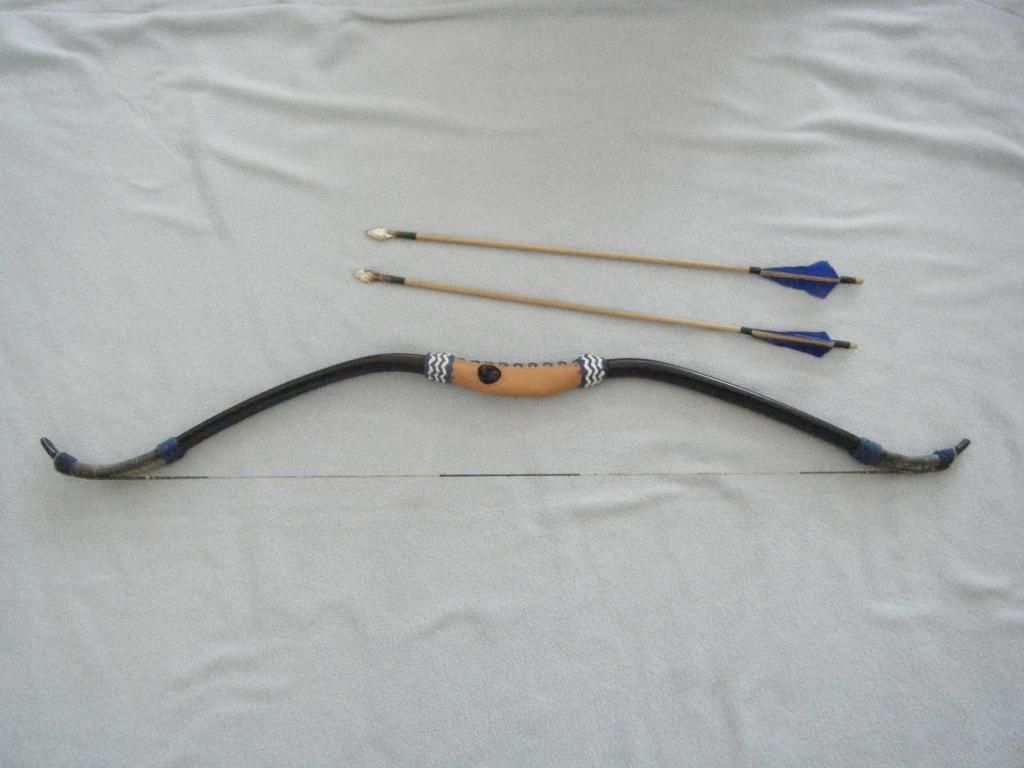
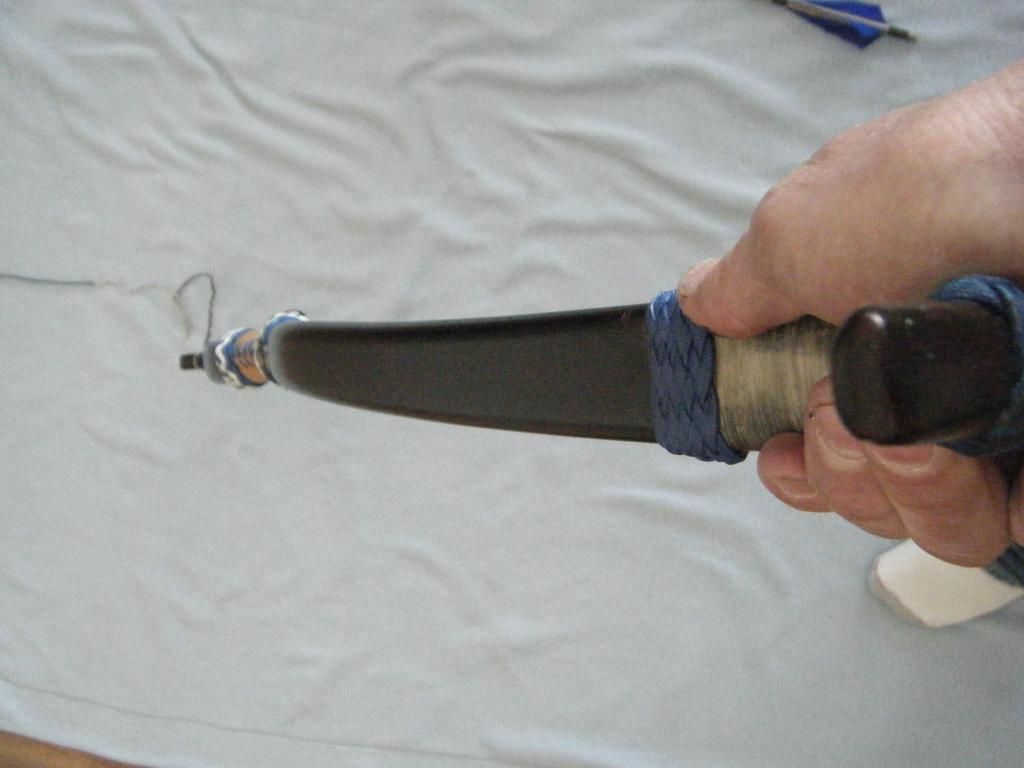
One of the ends. I had trouble getting the taper right and getting my epoxy putty to stay in, so I wrapped it with more waxed nylon thread and braided gaucho knots out of flattened paracord to make it look decent. Then I soaked the knot in superglue to keep it from fraying.
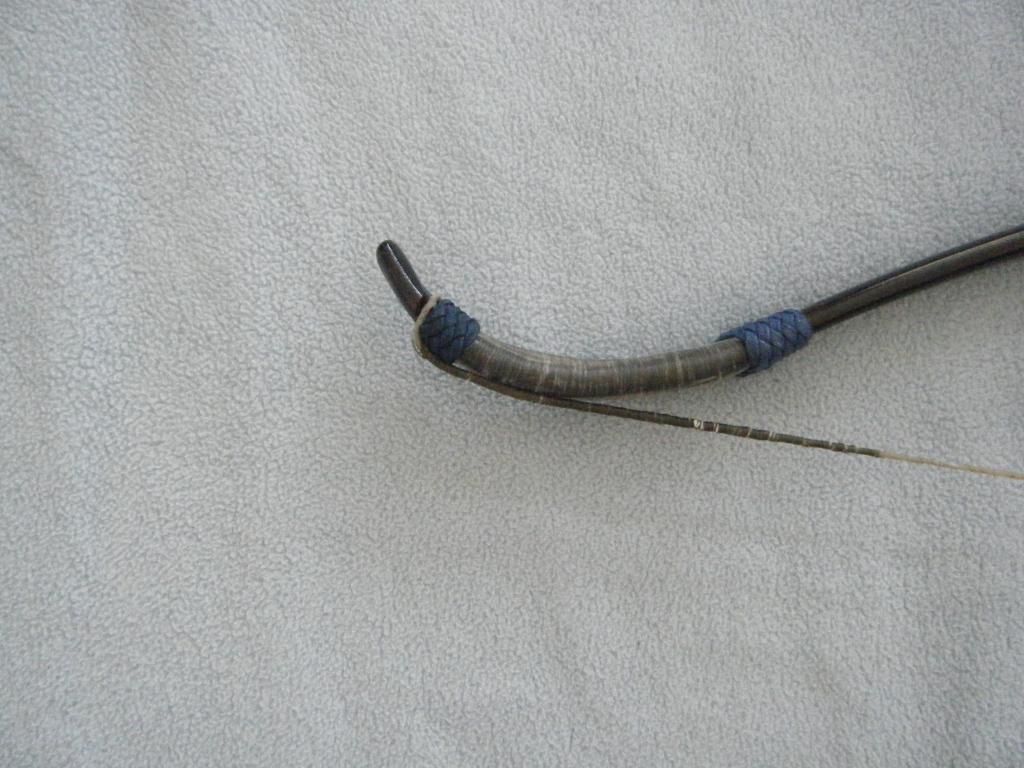
Almost at full draw. The top limb always seems like its going to collapse to me.
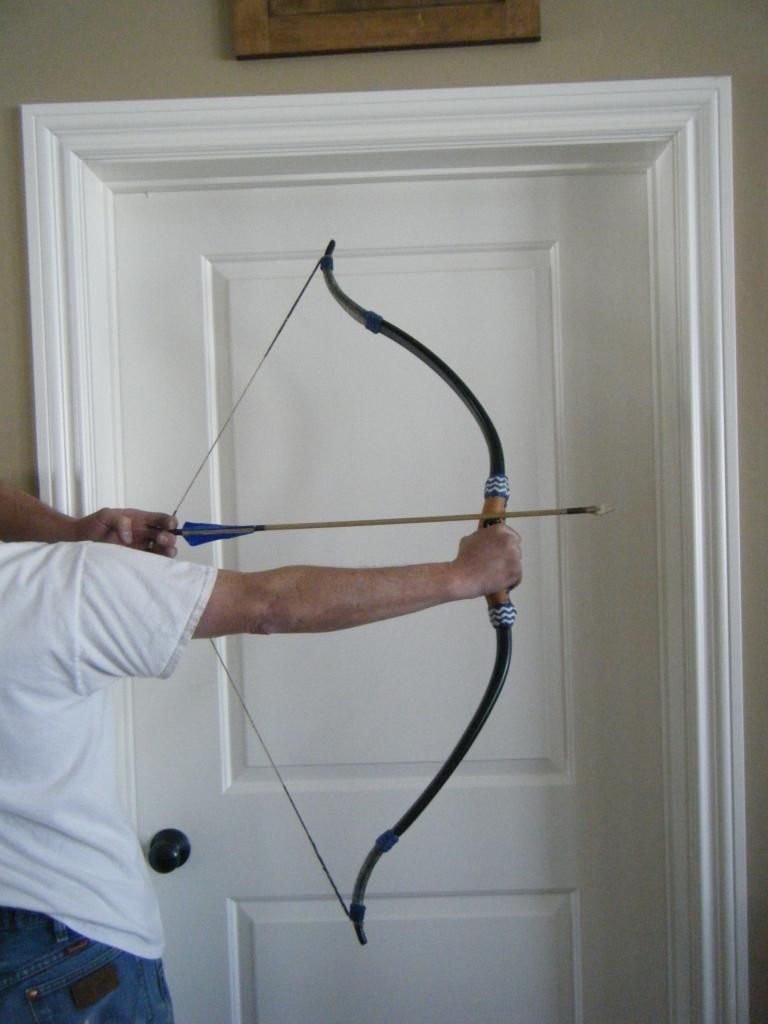
The grip. I'm a lefty, so I made it a left-handed bow. I wrapped it with buckskin from an old coat, but I had to glue a piece of linen to the back of the buckskin to keep it from tearing when I pulled everything tight. The arrow rest is made of some more putty and glued into place. (Obviously I spray painted the whole thing black, just for looks)
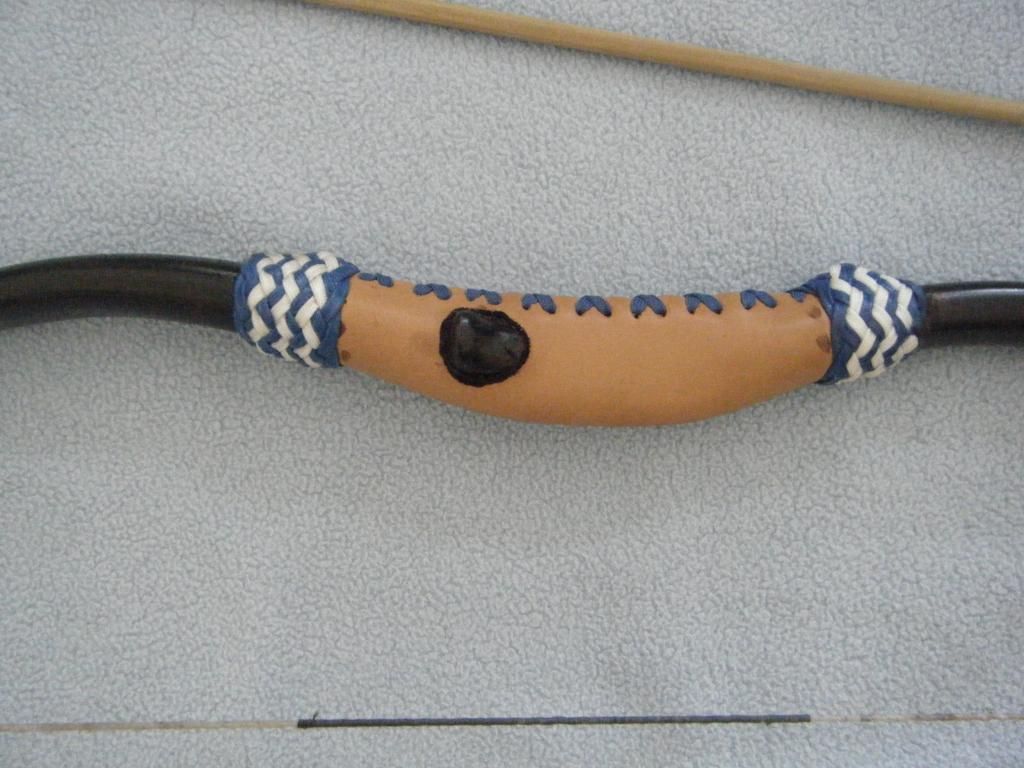
Front view of the grip. You can see I didn't quite get the limbs lined up when I flattened them, and I didn't realize it until I was almost done. The knots are called pineapple knots. I chose blue and white because those are the colors on the family coat of arms. The knots didn't turn out quite as nice as I liked, partially because of the odd shape they cover, and partially because my braiding needs practice.
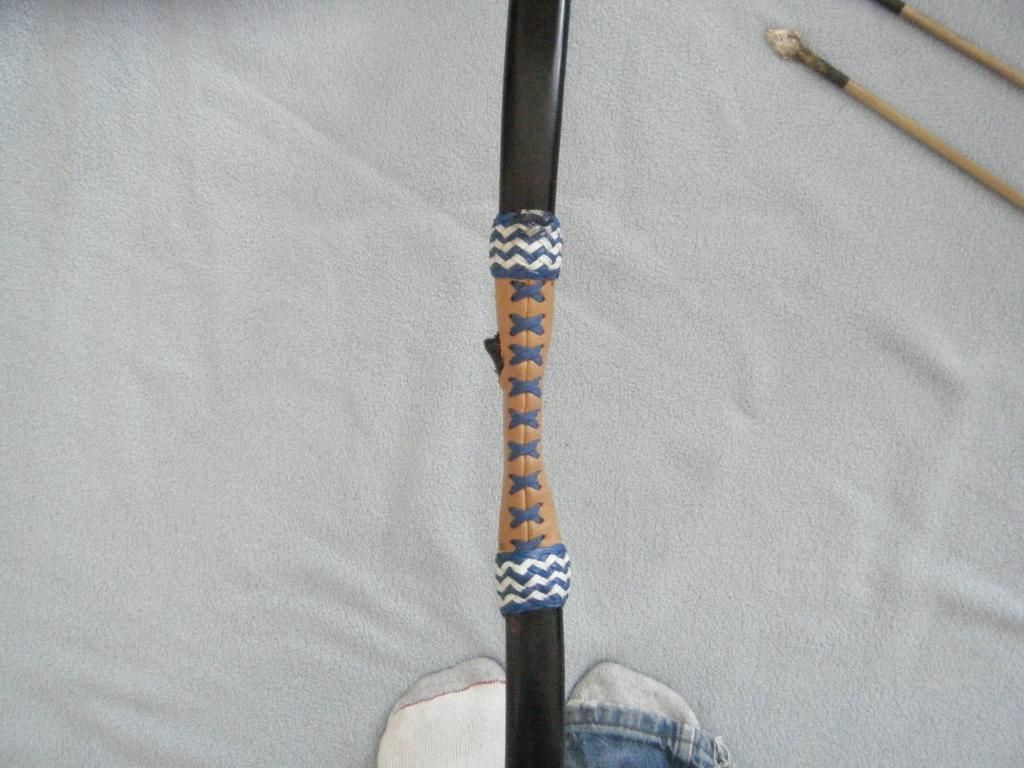
You can see how it's kind of warped in this shot.
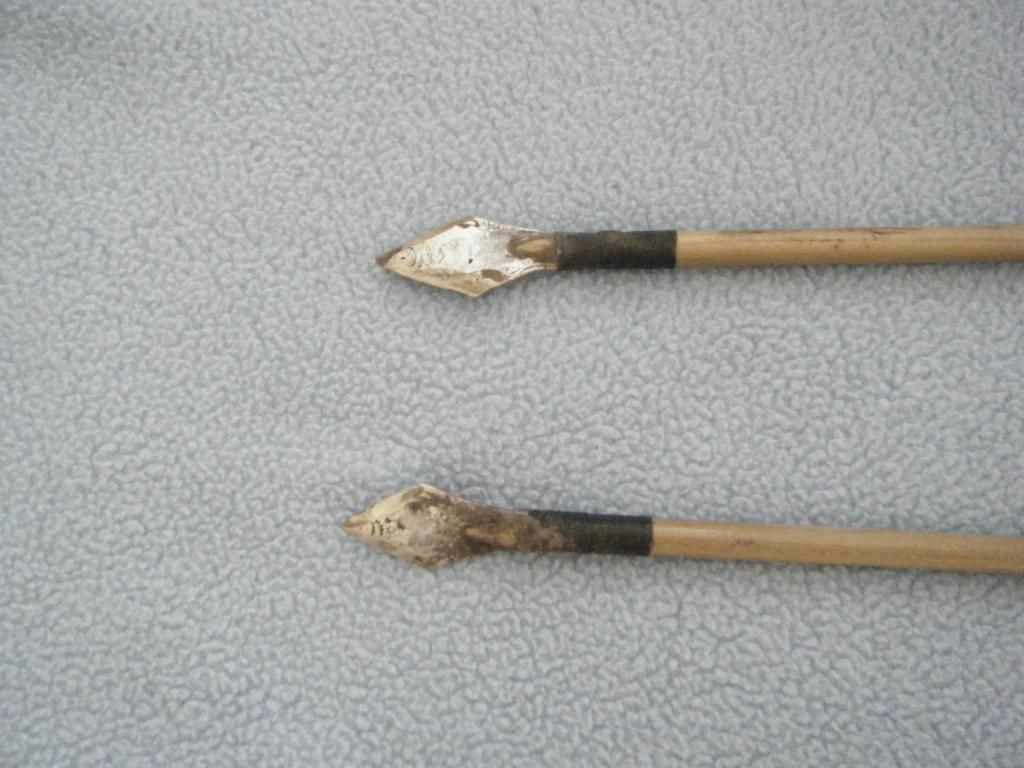
The arrows are made from poplar dowels I bought for about .86 cents each. Each dowel was long enough for two arrows. The feathers I got from Culligan, of all places. The Culligan store in our area gives out headbands to the kids each year. I know the owner, so he hooked me up.
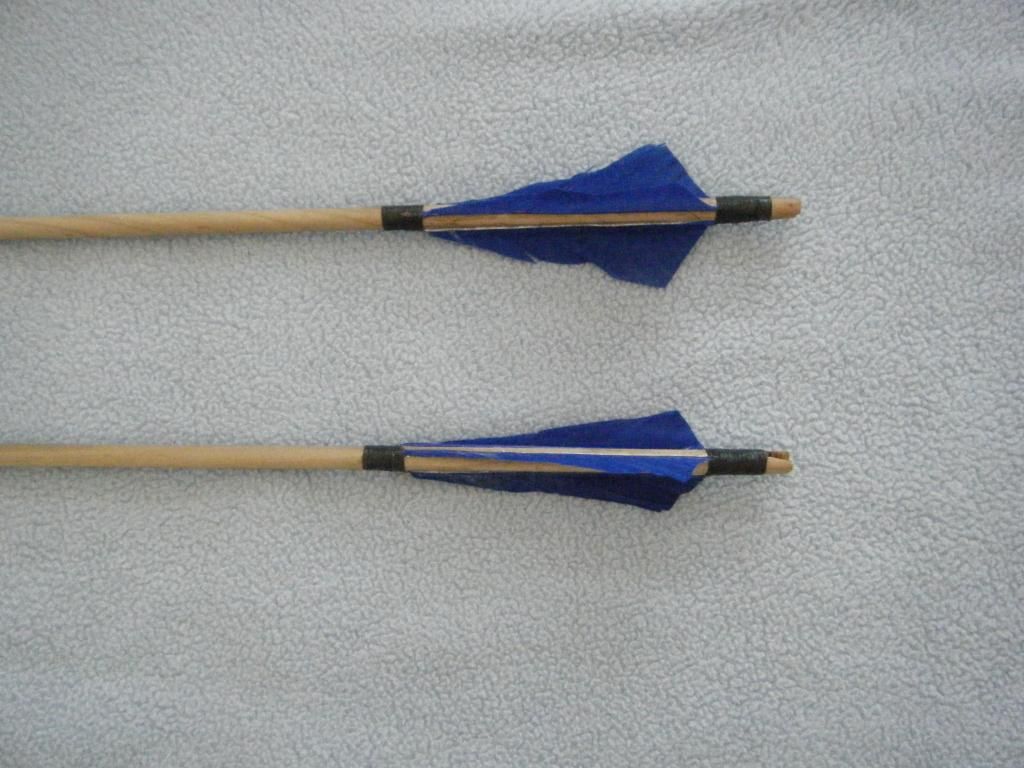
The heads were made from old spoons. I beat the handles flat with a hammer and then shaped them with a dremel. Cheap, crappy metal, but they'll poke a hole in something. I smeared superglue on the string and the nocks to help them last longer. The dirt is from testing them out.
I counted it up once. I have 6 bows in my house (2 PVC bows, a hickory bow I made for my oldest son, a crappy plastic kids toy bow, a 20# Bear fiberglass recurve, and a youth compound bow), and a total of
2 finished arrows.
 HOW I MODIFIED MY JIG
My limbs kept collapsing at the base of the grip, where the jig was pressing a sharp crease into the pipe. To fix that, I took a half-round file and ran it through the space between the "legs" of the jig, so it has a nice curve instead of a sharp edge. If anyone's interested I'll take a picture of it.
One thing I learned is critical, is making sure the limbs are straight before you flatten them. If I'd done that, I wouldn't have had all the warping issues. I'd also recommend making a jig out of a 2x4. I used a 1x4 and it tends to warp when I'm putting my weight on it to flatten the pipe, which makes the limbs taper weird.
Now as soon as it warms up, I'm going to try a little mounted archery!